
Step-by-Step Guide to Growing Mushrooms at Home
Growing mushrooms at home is easier than you might think—and you don’t need a garden or greenhouse to do it. With the right supplies, you can cultivate fresh, gourmet mushrooms right in your kitchen, basement, or spare room.
This guide will walk you through every step of the process, from choosing your mushroom variety to harvesting your first crop.
Step 1: Choose Your Mushroom Variety
Different mushrooms have different needs. Beginners should start with easy-to-grow varieties like:
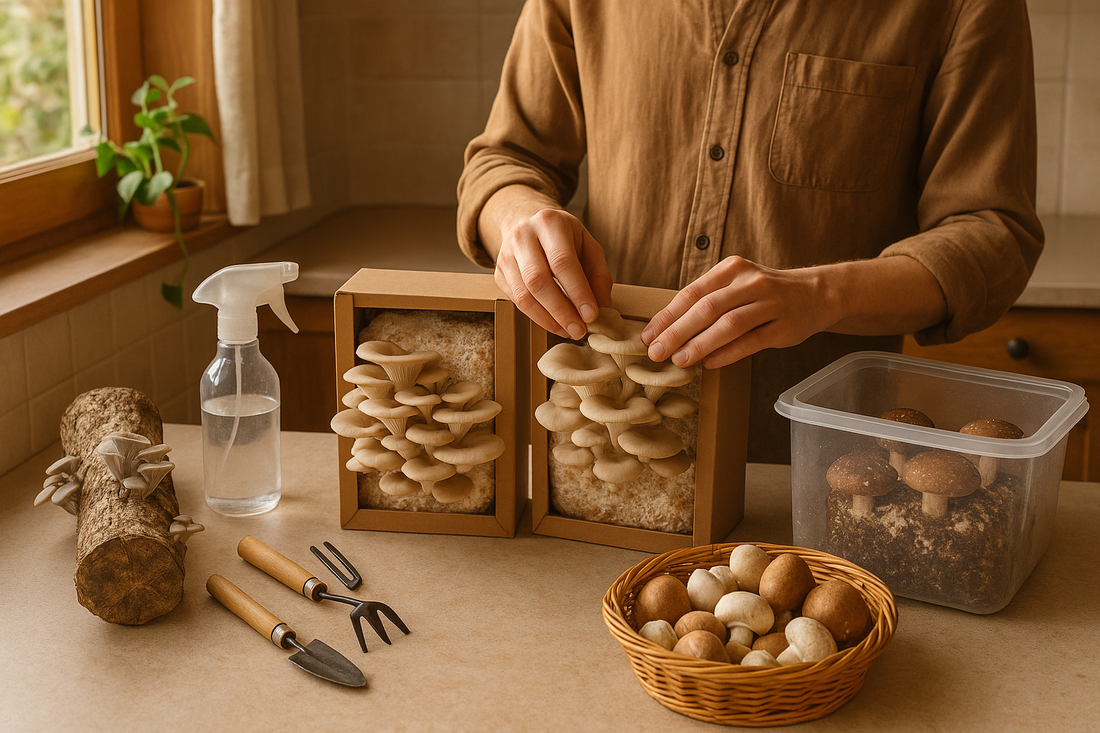
Oyster mushrooms – Fast-growing, forgiving, and delicious.
Lion’s mane – Unique texture and flavor, with brain-boosting benefits.
Shiitake mushrooms – Rich, earthy taste, popular in cooking.
Tip: Start with one variety so you can focus on learning the process before branching out.
Step 2: Gather Your Supplies
You will need:
Mushroom spawn (the “seed” of the mushroom)
Substrate (pasteurized straw, hardwood sawdust, or coffee grounds)
Growing bags or buckets with small holes for airflow
Spray bottle or small humidifier
Gloves and a mask (to avoid contamination)
Many beginners choose a mushroom growing kit because it includes pre-inoculated substrate and simplifies the process.
Step 3: Inoculate the Substrate
If you’re not using a ready-to-grow kit:
Prepare your substrate by pasteurizing it to kill off unwanted bacteria or mold.
Mix in the mushroom spawn evenly so the mycelium (mushroom “roots”) can spread.
Place the inoculated substrate into your grow bags or containers.
Step 4: Colonization Stage
Keep your bags or containers in a dark, warm space (65–75°F for most varieties).
Wait until the substrate turns completely white with mycelium—this usually takes 1–3 weeks.
Avoid disturbing the bags during this stage.
Step 5: Fruiting Stage
Move the colonized substrate to a humid, well-lit space (indirect light).
Cut small slits in the grow bags to allow mushrooms to grow out.
Maintain 80–95% humidity by misting regularly or using a humidifier.
Provide good airflow to prevent mold.
Step 6: Harvest Your Mushrooms
Mushrooms are ready when their caps begin to flatten or just before they fully open.
Gently twist and pull, or cut at the base with a clean knife.
Store fresh mushrooms in a paper bag in the fridge for up to a week.
Step 7: Repeat and Experiment
Once you’ve mastered one variety, try experimenting with others or scaling up production. You can reuse some of your equipment and even recycle spent substrate as compost for your garden.
Final Tips for Success
Keep everything clean to avoid contamination.
Track your temperature, humidity, and harvest dates to improve each crop.
Don’t be afraid to start small—experience is the best teacher.